Experimenting with Density: DIY Lava Lamps
Setting the Liquid StageMaking your own lava lamp is easier than making a cat sit still for a photo. With a few household items, you can create a mesmerizing glow that’ll leave you wondering if you’ve accidentally wandered into a disco from the '70s. To pull this off, gather the ingredients like a chef preparing for a five-star dinner — but remember, this isn’t a Michelin star moment; it’s more of a “what can I do with what’s in the pantry?” scenario.You’ll need:- A clear bottle or jar (the fancier, the better, but any old empty peanut butter jar will do)
- Water (the magical elixir of life, or just tap water)
- Vegetable oil (because you can’t sauté without it)
- Food coloring (to make it look snazzy)
- Baking soda and vinegar (the classic chemistry duo that never disappoints)
- A flashlight (if you want to take it to the next level, or if the power’s out)
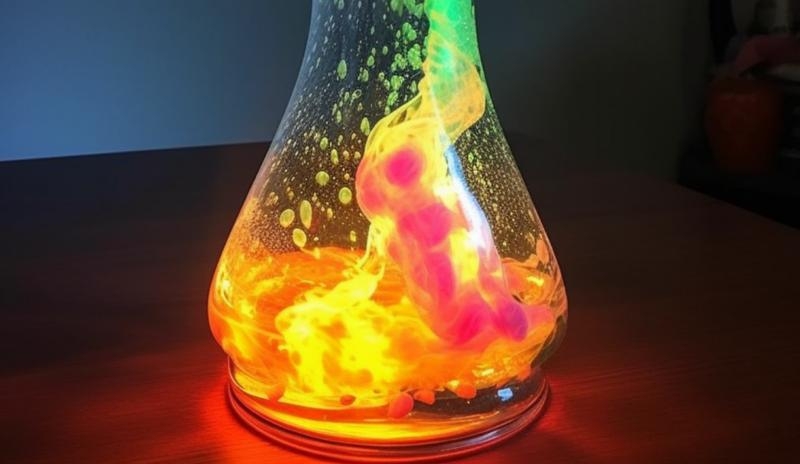
It’s All About the LayersOnce you have your materials, it’s time to channel your inner mad scientist. Start by filling the bottle with water until it’s about one-third full. This is where the magic begins. Next, pour in the vegetable oil. Marvel at how it floats on top of the water like a dancer avoiding the dance floor. You might think it’s an oil spill, but no, it’s merely your first layer.Now, add a few drops of food coloring. Watch as it descends through the oil, making a delightful journey downwards, only to be embraced by the water below. This is nature’s way of showing you who’s boss. You might see little blobs of color floating around, reminiscent of the art you once accidentally created in kindergarten.Let the Chemistry BeginNow it’s time to add a dash of excitement. Pour in a tablespoon of baking soda. The moment it touches the water, it will fizz like a soft drink on a roller coaster. It’s as if those tiny baking soda molecules are saying, “We’ve got this!” This is where your lava lamp really starts to come to life — and it’s also where the dog may start to bark at the strange bubbling sounds.Now, carefully add some vinegar. Be ready for a mini volcano eruption! The combination of baking soda and vinegar will produce bubbles that rise and fall gracefully in the oil, creating that iconic lava lamp effect. Stand back and admire your work. If only your high school science teacher could see you now.Light It UpTo enhance the ambiance, place your newly created lamp on a flat surface and shine a flashlight underneath it. The swirling colors are sure to stun even the most jaded of guests. You can pretend you’ve tapped into the cosmos, or simply enjoy it while munching on popcorn — it’s all about the vibe.For those feeling extra adventurous, consider adding glitter into the mix. Who doesn’t love a little sparkle? Just be cautious; you don’t want your lava lamp to look like a disco ball in a jar. Safety First (or at Least Second)While this project is mostly harmless, a few safety tips will ensure you don’t have any ‘oops’ moments:- Make sure the jar is securely closed if you have pets or small children around. You wouldn’t want them thinking it’s a snack!
- Don’t substitute vinegar and baking soda for soda. That’s a whole different type of fizz and might attract ants.
- Remember, this is an art project, not a chemistry final — things may not work perfectly the first time. Embrace the chaos!
Final Thoughts: A Lava-ing ExperienceIn the end, creating your own lava lamp is not just an experiment; it’s an experience — an opportunity to unleash your inner scientist and relive your childhood wonder. As you gaze at the mesmerizing glow, remember that creativity, like your beloved lava lamp, can bubble up in unexpected ways. Now go forth and spread the magic; you may even inspire others to join your glowing revolution!
|
|